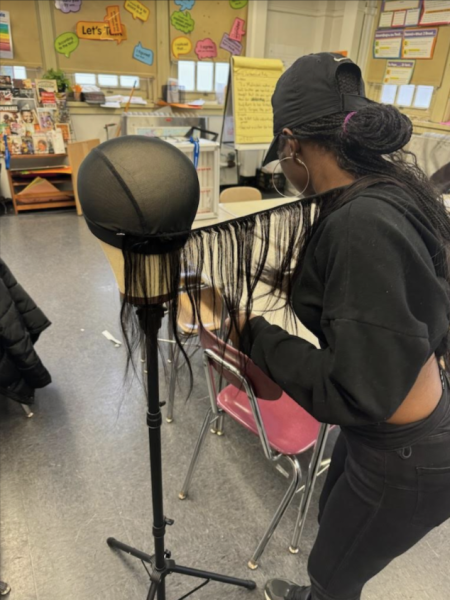
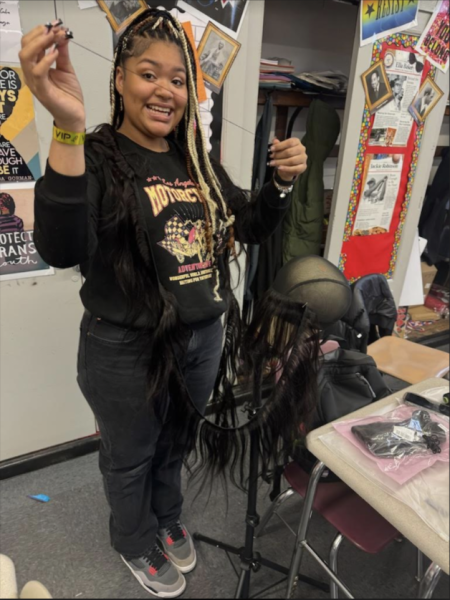
We decided to make wigs to celebrate Women’s History Month as part of the Cosmetology Club initiative. The purpose is to provide seniors with a wig for anyone suffering from alopecia. I feel such joy knowing that I will bring a smile to a senior’s face by empowering them and making something they can use. Wig-making seemed very hard at first, but once I got help from Atiya, making wigs hasn’t been so difficult. 
Here are the steps to making a wig:
Get a regular bald cap for your wig that you can glue or sew. We are sewing ours. The normal size is 24 for a bald cap for or if you need a bigger size go higher.
Place the wig cap on the wig base from your stand.
Get some T-pins to place and pin on the doll head to keep the hair you are sewing in place.
Use nylon thread; it is best to use for sewing, not cotton thread.
Be sure that you have your clips, needle, thread, and hair extensions.
Do the first two rows behind the head of the doll (behind the ears).
Make sure the length of the thread, while sewing, is the same as your arm so it won’t get tangled.
Do the third row at the top of your ear.
Continue to sew around and around the head until you get to the top of the head.
Make sure to use the T-pins a lot to keep your sewing in place.
Use at least two and a half packs of the weave to finish around the whole head
Once you get to the middle of the head, since there is going to be a little hole, you would cut a piece of the weave and roll in very tight
After you put it upside down and sew it onto the bald cap, it should be in a very tight circle. Another option is doing the same thing but using glue instead of sewing.
Adds clips into the bald cap so that when someone wears it, it stays in place
Once you’ve done this, you’ve completed sewing your wig
Add final touches to it by making bangs or a style you’ll want your wig to have